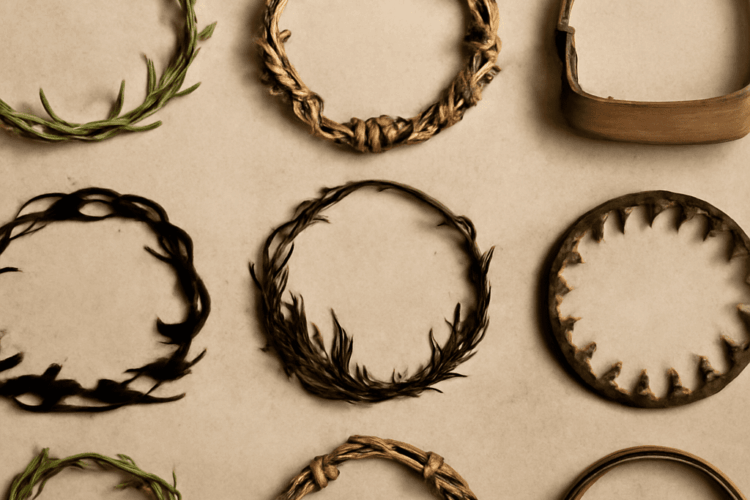
Creating RPG tokens with custom borders can significantly enhance your tabletop gaming experience. By using an RPG token maker, you can bring your characters and scenes to life with personalized designs. This guide will walk you through understanding token makers, designing custom borders, and crafting your tokens step-by-step.
Understanding RPG token makers
An RPG token maker is a digital tool that allows users to create tokens for role-playing games. These tokens often represent characters, enemies, or objects in a game and are essential for visualizing scenarios on virtual or physical battle maps. Popular tools like Roll20, Token Tool, and Adobe Illustrator offer features to customize the appearance of these tokens.
These tools often provide templates and libraries of images to get you started. You can upload your own images, choose from various shapes, and apply effects to personalize your tokens. The flexibility of these tools allows both beginners and advanced users to create tokens that fit their specific game needs.
Designing custom token borders
Customizing token borders is an integral part of personalizing your RPG tokens. Borders can help differentiate characters or add thematic elements to your game. You can choose from a variety of styles including ornate, minimalist, or thematic designs like sci-fi or fantasy.
When designing token borders, consider the overall aesthetic of your game and what you want the borders to convey. For instance, a medieval-themed game might benefit from ornate, metallic borders, whereas a cyberpunk setting might require sleek, neon designs. Tools like GIMP or Photoshop allow you to design intricate borders with layers and effects.
Step-by-step guide to creating tokens
- Choose your token maker: Select a tool that suits your expertise level and the complexity of the tokens you wish to create. New users may find Roll20’s token creation features user-friendly, while advanced users might prefer Adobe Illustrator for its extensive design capabilities.
- Select or upload an image: Begin by choosing an image that represents your character or object. Most tools allow for image uploads in common formats like PNG or JPEG.
- Design the token border: Use design software to create a border that complements your image. You can either draw directly within the token maker or use external software to design and then import the border.
- Apply effects and adjustments: Customize your token further with effects like drop shadows, color overlays, or gradients to make the token more visually appealing.
- Export your token: Once satisfied with your design, export the token in a suitable format (typically PNG for transparency) and size for your gaming platform.
Tips for enhancing your RPG tokens
- Consistency is key: Ensure that all tokens in your game have a cohesive look. Use similar border styles, colors, and effects to maintain visual harmony.
- Consider size and resolution: Tokens should be clear and visible on your platform of choice. Make sure they’re high-resolution enough to look good when zoomed but not so large they slow down the game.
- Test in-game: Before finalizing, test your tokens in the game environment to ensure they look and function as intended.
- Experiment with transparency: Transparent elements can add depth and dimension to your tokens, making them stand out on maps.
By following these steps and tips, you can create stunning RPG tokens with custom borders that enhance your gaming sessions and bring your adventures to life.